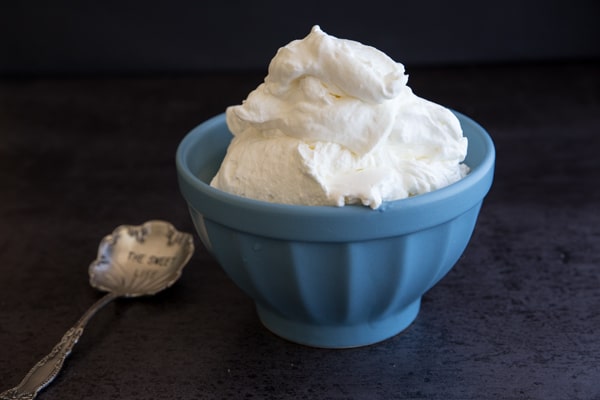
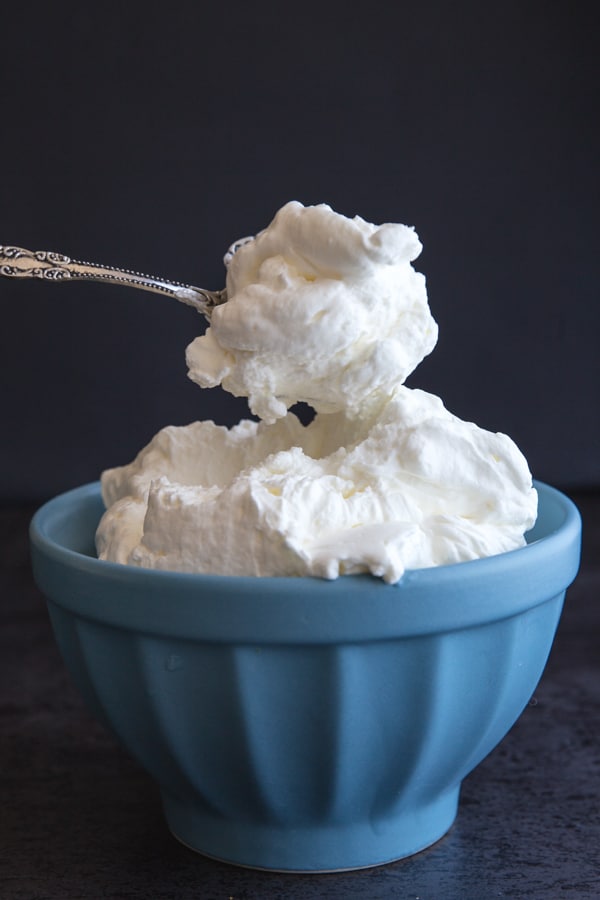
 Stabilized Whipped Cream
I actually stumbled over making stabilized when I was looking for a way to frost a birthday cake. Nobody in my family likes a buttercream frosting, well except for me, they don’t like the sweetness, too much sugar says the Italian.
I was making Tiramisu one day and I whipped the cream and mascarpone too much and yup that’s how I came across the idea of using this idea to make stabilized whipped cream.
Stabilized Whipped Cream
I actually stumbled over making stabilized when I was looking for a way to frost a birthday cake. Nobody in my family likes a buttercream frosting, well except for me, they don’t like the sweetness, too much sugar says the Italian.
I was making Tiramisu one day and I whipped the cream and mascarpone too much and yup that’s how I came across the idea of using this idea to make stabilized whipped cream.
FIVE OTHER WAYS TO STABILIZE WHIPPED CREAM
Yup, you read correctly, five different ways to stabilize whipped cream. Ah well, technically just two. So, Let’s talk about them and their substitutes as well as and which to use and when.
- Gelatin – This is common in Bakeries and commercial dessert shops. It usually has the most extended shelf life. Your whipped cream will hold its shape longest. It’s not vegetarian so perhaps not a choice for everyone. A substitute for gelatin is usually agar-agar, but I have not tried using it yet. If I do, I will update the post and let you know.
- Cornstarch – is another way to stabilize whipped cream and it works well. I use cornstarch more often for home desserts as compared to gelatin. Simple and easy as adding it to the whipped cream after adding the sugar.
- Confectioners Sugar/Powdered Sugar – Again what you are doing here is taking advantage of the starch in the confectioner’s sugar which usually is either cornstarch or potato starch.
- Milk Powder – This works on two levels. First, it takes advantage of the starch in the milk powder which usually is cornstarch. Second, it adds a more milky flavor as compared to starch flavor to the stabilized whipped cream.
- Pudding Mix – You guessed it!! Pudding mix contains starch which most commonly is cornstarch or arrowroot.
I most commonly use confectioner’s sugar or milk powder for homemade desserts. That’s because I do not keep my whipped cream desserts long. However, when it’s a customer cake, I stabilize the whipped cream with gelatin.
Why? Because I cannot decorate a cake at the last minute. I need to decorate and let the cake sit in the fridge a few hours before the customer comes to pick it up. The customer again won’t happen just before the party, so she still needs to keep it in her fridge for a few more hours. I want my whipped cream to hold up until it’s time to serve the cake/dessert. In this case, gelatin works best.
LET’S START WITH THE EASIEST METHODS
- Cornstarch – 1 tbsp for every 1 cup whipping cream
- Confectioners Sugar /Powdered Sugar – 3 tbsp for every 1 cup whipping cream
- Milk Powder – 3 tbsp for every 1 cup whipping cream
- Pudding Mix – 3 tbsp for every 1 cup whipping cream
- Start by beating the cream with a whisk attachment.
- Slowly add sugar or confectioners sugar
- If using granulated sugar – once you reach the soft peak stage. Add the vanilla and cornstarch or milk powder or pudding mix.
- Continue to beat until stiff peaks.
- Your whipped cream is stabilized when you can see the peaks hold their shape firmly.
- 1 cup whipping cream
- 2 tbsp caster sugar or fine grain sugar or honey
- 1 tsp gelatin – Or agar-agar for vegetarian
- 2 tbsp cold water
- 1 tsp vanilla or extract of your choice
- Place the gelatin and water in a microwave-safe bowl. Let stand for two minutes.
- The gelatin will bloom and become soft.
- Place gelatin in a double boiler or microwave for a 10-sec interval until all the gelatin granules dissolve.
- Set aside to cool but not set. This is very important. (take note that the gelatin is completely dissolved – not visible gelatin granules)
- Pour the whipped cream into a mixer bowl.
- Turn the mixer on medium.
- After a minute – slowly in the sugar.
- Once the cream has reached between soft and stiff peaks – add a tablespoon or two of whipped cream to the gelatin to equalize the temperature.
- Combine the cream and gelatin well – this will ensure the gelatine does not seize when you add to the cold cream
- Now pour the gelatin mixture into the mixer bowl and continue to whisk.
- Do not over beat at this point. You will see the cream will hold stiff peaks.
- This whipped cream can be used immediately.
- You can spread it over a cake or pipe as needed.
- I have kept this whipped cream for up to three days in the fridge, and it won’t go limp or separate.
- To Pipe – place in a piping bag with your desired tip and pipe like you pipe your frosting
HOW LONG DOES REGULAR WHIPPED CREAM LAST?
TIPS AND TROUBLESHOOTING – FOR STABILIZING WHIPPED CREAM
- Whipped cream needs to be chilled not frozen, not warm. Warm whipping cream will not get to peak consistency unless it is cold.
- For quick whipping – place the mixer bowl and whisk in the fridge.
- If you live in a hot and humid climate – place a bowl of ice water below the whipping cream bowl and it will whip instantly.
- My whipped cream is soupy – chill it in the fridge for a few minutes. Then whip again.
- My whipping cream with gelatin added is soupy – the gelatin was warm so the whipping cream won’t become stiff – Just place a bowl of ice water below the bowl of whipping cream and it will whip instantly.
- I think I have overwhipped cream – stop whipping – add a few tablespoons of fresh cream and stir it in using a hand whisk. It should come back to consistency.
- Greasy or lumpy whipped cream – You passed the stage of whipped cream and are now making butter. Over-whipping cream will eventually give you butter. You can’t go back now so, make homemade butter and star with a new batch of whipping cream.
- My stabilized whipped cream is stringy – if you add warm gelatine mixture to cold whipping cream, the gelatine will seize and set instantly which will lead to gelatin strings. That is why tempering the gelatin as I have shown above is a no-fail method.